Stripping the Finish off your M1 Garand Stock
Refinishing your M1 Garand stock is a great way to restore the original look and function of the wood. Before this can be done we need to remove the old finish. The original finishes applied to the M1’s in the US were oil-based. However, your M1’s can have a US-made stock or a foreign one. The finish on your M1 typically would be Raw linseed oil, or Tung Oil. It’s impossible to know what foreign countries used on the stocks. In later years the stocks can also have been treated with boiled linseed oil or even a varnish in the field.
Refinishing your stock can affect the collector value of the rifle.
Preparing the Stock.
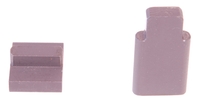
1 After breaking down the rifle you’ll notice that the handguards have some metal parts attached to them. In the case of the front handguard, these are the spacer and the front handguard ferrule. These parts were never designed to be removed once installed. Removing these parts can be done but at some risk to the wood and the parts themselves. To remove the spacer you have to bend back the tabs holding the ferrule on and slide out the spacer. However, bending the tabs often damages the parkerizing and work-hardens the metal. A special tool needs to be used to properly reinstall the spacer when finished. If you don’t have the tools to do this step properly we recommend leaving on the parts and masking them with tape. The ferrule can sometimes be wedged on so firmly that damage to the wood occurs upon removal. If the ferrule doesn’t come off by hand, leave it on. Forcing it damages the part and often mar’s the wood in the process. The spacer tool used during the installation of the liner is shown below.
Removing the liner from the handguard can weaken the wood significantly. Handle carefully!


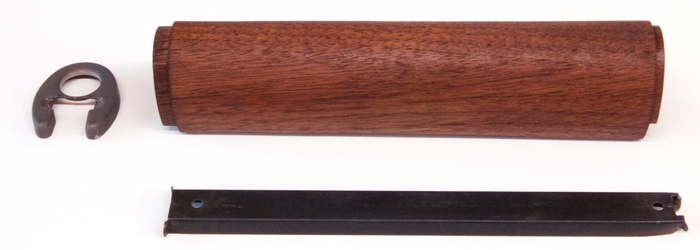
2 The rear handguard also has a metal clip attached to it. This handguard is the most fragile of the wood pieces. Improper removal of the handguard clip will result in either a broken handguard or other damage. If you do not have the handguard pliers this clip should not be removed. The clip can be masked and the stock refinished around it. The handguard with the clip masked off and the pliers are shown below.
Follow the instructions provided with the handguard pliers carefully! If you don’t have the tool do not attempt to remove the clip. Mask the clip instead.


3 Remove the two screws from the buttplate. Remove the buttplate and the rear sling swivel. If the buttplate is stuck it can be gently pried off. Be careful not to mar the wood. The gentle application of heat to the buttplate can help if it’s stuck on with dried cosmoline.

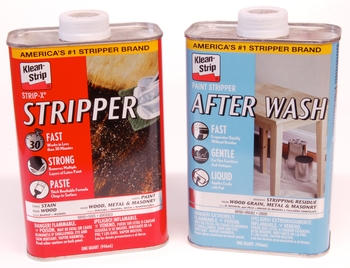
Follow the instructions provided with the Stripper carefully! Wear proper hand and eye protection and use in a well-ventilated space.

4 Start with the handguards. Use a brush to apply a thick coat of stripper to all the surfaces. Place the handguards on some newspaper and wait for the stripper to work. While waiting for the stripper, cut out a square from your 3M finishing pad that is about 2″ x 2″. We’ll use this pad to help clean the surface when we remove the stripper from the stock. Avoid using steel wool if possible.
5 The stripper we’re using is removed with water. If you have a sink available you’ll want to use it. Otherwise, prepare a large rinse bucket with warm clean water. Take the handguards and using warm running water begin to rinse the part. Use the cut piece of 3M pad and scrub the surface in a circular motion. When all the stripper has been removed from both handguards gently dry the surface and set aside. Avoid soaking the wood in water for any length of time.
Rinsing with water can raise the grain slightly on the wood. This is normal and can be fixed with light sanding before refinishing.
6 Take an old piece of lint-free cloth and saturate it with the After Wash product. Wipe down the surface of the rinsed parts. Do this step twice for each part. After a few minutes, you can inspect the parts to determine if another coat of stripper is warranted. Normally this isn’t needed. Light staining of the surface can normally be removed with the After Wash product at this point.
7 Repeat Steps 4 through 6 for the main rifle stock. Be sure to get the stripper on all the surfaces. A small nylon brush can be useful when scrubbing the hard-to-reach areas.

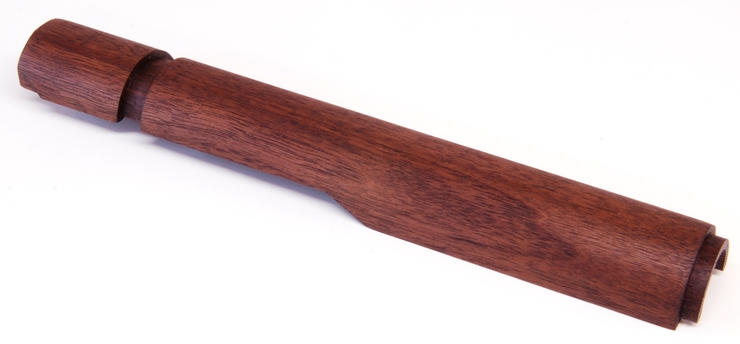
(Stock and handguards after the first application of stripper)
8 Small dents in the stocks can be steamed out with the use of a kettle. Dent’s that cause the wood grain to break normally will not respond to being steamed. Be very careful around cartouches and any stamped marks on your stock. Damage to these marks can drastically decrease the value of your stock.
9 When finished, allow the stock to dry for at least two days before applying a new finish. This will allow the moisture content in the wood to equilibrate. (See our article on finishing stocks [Refinishing your M1 Garand] )
10 When the wood has dried, sand the stock to smooth any areas that show raised wood grain. Be careful not to sand any areas that might have a stamp or other identification mark on the wood. Start with 200 grit sandpaper and finish with 600 grit. The 600 grit sandpaper will remove any small scratches left from the more coarse sandpaper. Use a lint-free rag and the “after wash” stripping product to wipe down the stock. If you don’t have the after-wash product our orange oil which is included with the oil kits also works well.
